Hello! I hope you have had a great weekend. Today I'm sharing a tutorial on how to create this Christmas Stocking Gift Card Holder. The cute little image is from "Angelic" art stamp set from Layers of Color. If you love all things Christmas, then I know you will want to join us in October for our handmade ornament blog hop ( I will have another fun tutorial for you), and in November LOC blog hop for Christmas gift bags / tags inspiration.
I changed it up a little bit though. The template they have requires you to cut the front and back of the stocking seperately. I KNEW there was now way I could hand cut the back and front seperately and then get them to line up. So here is my idea. Cut off the top 1/2 of the stocking fur. See in the photo above it says trim here. Just cut it off and toss it.
Start with a red card 5" x 5 1/2". Now line the pattern up along the fold line as shown above. Trim the stocking. Now you should have a stocking shaped card that is folded acorss the top and opens from the bottom.
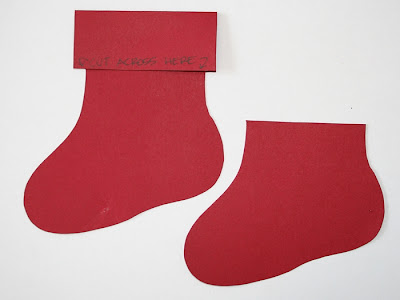
Draw a light pencil line from side to side defining the fur top and cut along this line, as shown above. Now you have 2 pieces as shown below. And the front and back will match perfectly since you cut them out at the same time.
Next we need to add the fur. I used a piece of white velvet paper. I glued the top onto the back of a larger piece as shown below and then trimmed.
Use a gift card or credit card to draw out the boundaries for your gift card pocket.
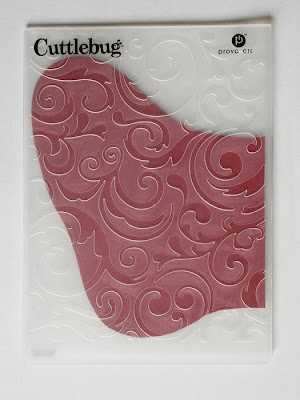
Add white glue as shown, avoiding the inside of the pocket and the stocking top (fur area). I use Aleene's Tacky glue (1.47 at Walmart for a large bottle). Secure the embossed front of the stocking to the back.
And you have a cute little gift card holder!
I hope you enjoyed this tutorial. If you decided to create one, I would love to see how you embellish yours. Just email me a link or leave me a comment here.
Have a great day!
Melisa


